The Calendar View by Employee
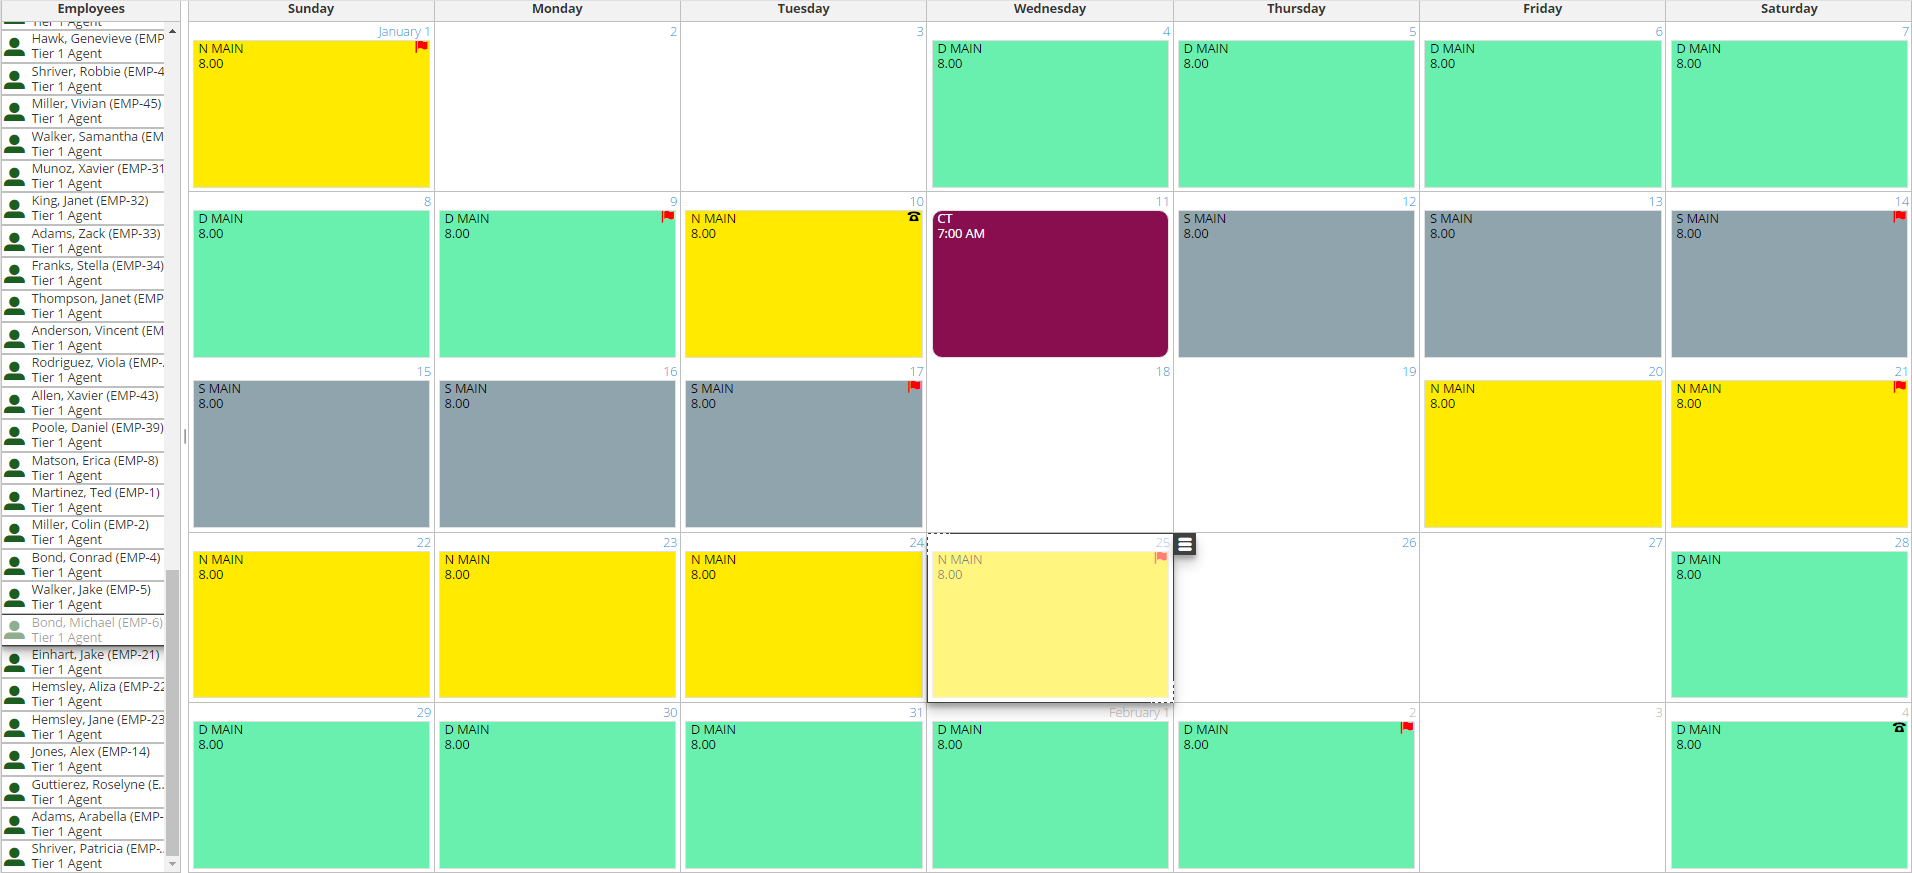
The Calendar View by Employee presents scheduling information in a monthly calendar-like format that lists each employee down the leftmost column and the Shift/Time Off Chooser along the rightmost column. Click on an employee in the employee list to update the calendar contents.
Each cell corresponds to a day in the monthly calendar of a specific employee. Employees' shift assignments, time off assignments, and time off requests are shown in the cells of the calendar. Multiple shift and time off assignments in a single day are allowed, but if there is any overlap between shift and time off assignments, a will be displayed and it is up to you to resolve the conflict.
You can configure the Calendar View by Employee and your settings will be saved until you modify them again. You can also perform many schedule view functions that are common across the schedule views, including the Calendar View by Employee.
Assigning shifts and time off to an employee
Employee's assignments are shown in cells in the Calendar View by Employee. There are four ways to make shift and time off assignments. You can select one or multiple cells. Drag the mouse from the bottom-right corner of a cell to select as many dates as you want to schedule. You can also use the keyboard to select multiple dates by holding down the Shift key and pressing the arrow keys to move around.
Drag a shift or time off from the Shift/Time Off Chooser and drop it into a cell.
With cell(s) selected, select a shift in the Shift Chooser, and click Assign Shift; or select a time off reason in the Time Off Chooser, and click Schedule.
Right-click cell(s) and click Shift Assignment or Time Off, choosing values for either.
With cell(s) selected, click in the toolbar and select a shift to assign (or click the and select Assign Time Off from the drop-down menu, and choose a time off reason).
Requesting Time Off
There are three ways to request time off. You can select one or multiple cells. Drag the mouse from the bottom-right corner of a cell to select as many dates as you want to schedule. You can also use the keyboard to select multiple dates by holding down the Shift key and pressing the arrow keys to move around.
With cell(s) selected, select a time off reason in the Time Offs Chooser, and click Request.
Right-click cell(s) and click Time Off, then Add Time Off Request, choosing a time off reason.
With cell(s) selected, Click next to in the toolbar and select Add Time Off Request, choosing a time off reason.