Using Active Directory Federation Services for Single Sign On with Snap Schedule 365 ERA
IMPORTANT: All information in the following screenshots contain sample data that should be replaced with information specific to your ADFS configuration.
Example server: Windows Server 2012 R2 w/ ADFS 3.0 @ adfs.ad.snapschedule.com
How it works:
Employees use employee codes and passwords to log in to Snap Schedule 365. However, your company policies may require these users to log in from your organization instead of directly into Snap Schedule 365. Therefore, you can utilize Single Sign On (SSO) to authenticate employees using your company-managed credentials instead of those within Snap Schedule 365.
Each employee’s login credentials are mapped to the credentials of a user in your organization so employees must login to their ADFS server instead of Snap Schedule 365. In order to authenticate your server, Snap Schedule 365 needs the identity URL of your server’s location and a special token signing certificate to show that your server is authentic. Likewise, Snap Schedule 365 will authenticate itself to your server by sending you a certificate.
Before you begin:
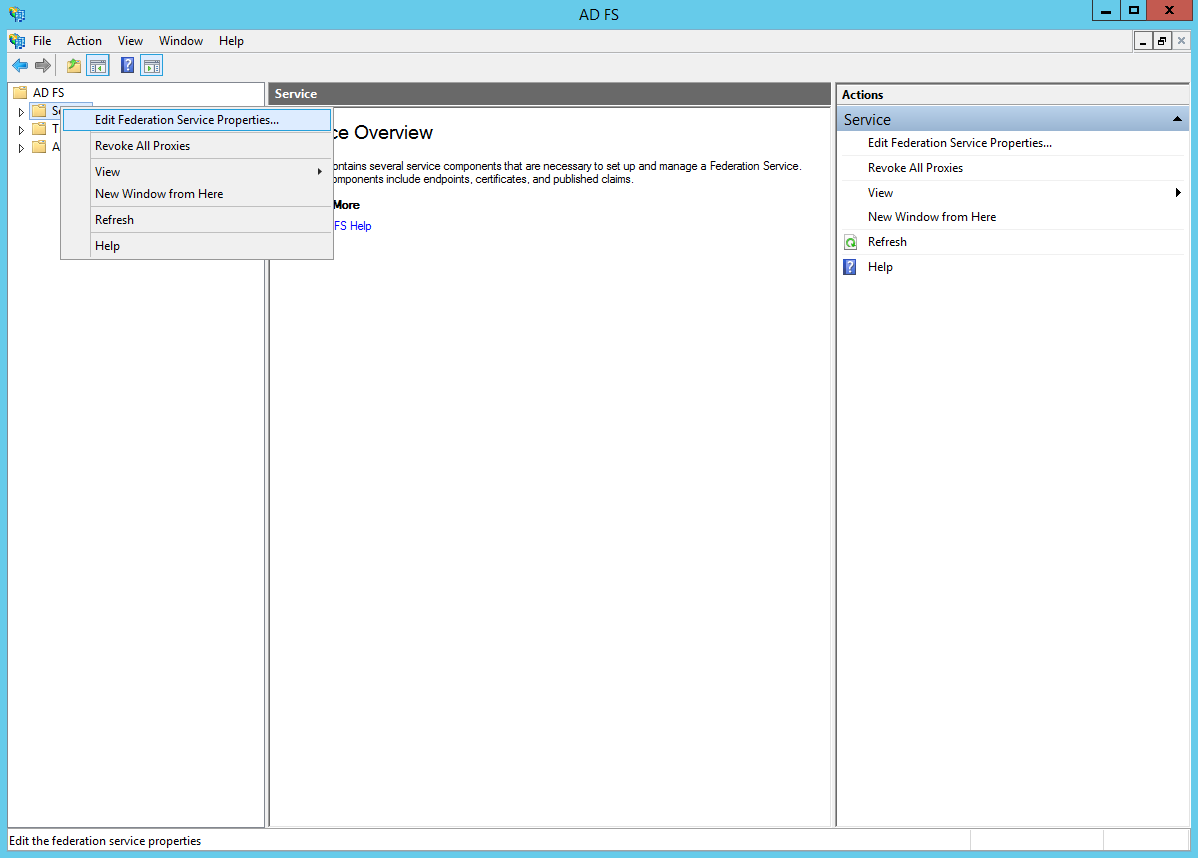
Make sure that ADFS is installed and configured on Windows Server. Employee Remote Access will need your Federation Service Identifier URL, which can be found in the Federation Service Properties. A sample identifier URL could be:
http://adfs.ad.snapschedule.com/adfs/services/trust
Request the era_snapschedule365_com.cer signature verification certificate from Snap Schedule 365 by emailing the Snap Schedule 365 support team at support@snapschedule.com.
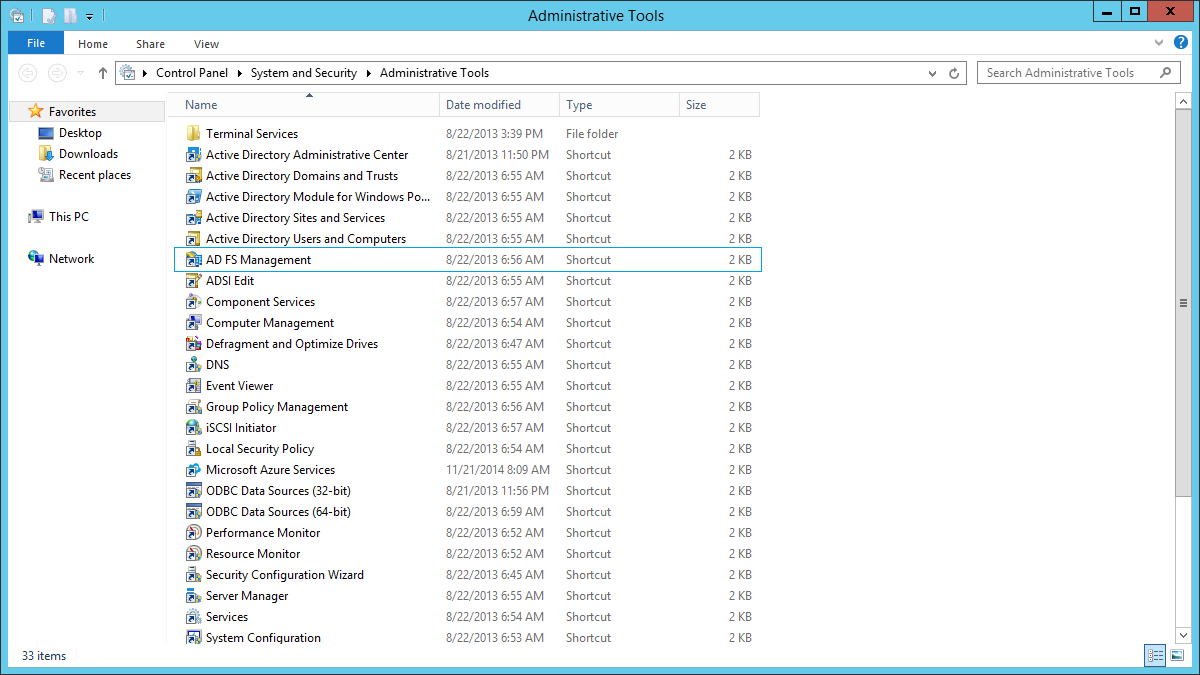
Open AD FS Management via Administrative Tools -> AD FS Management
Adding Snap Schedule 365 Employee Remote Access as a Relying Party Trust (RPT)
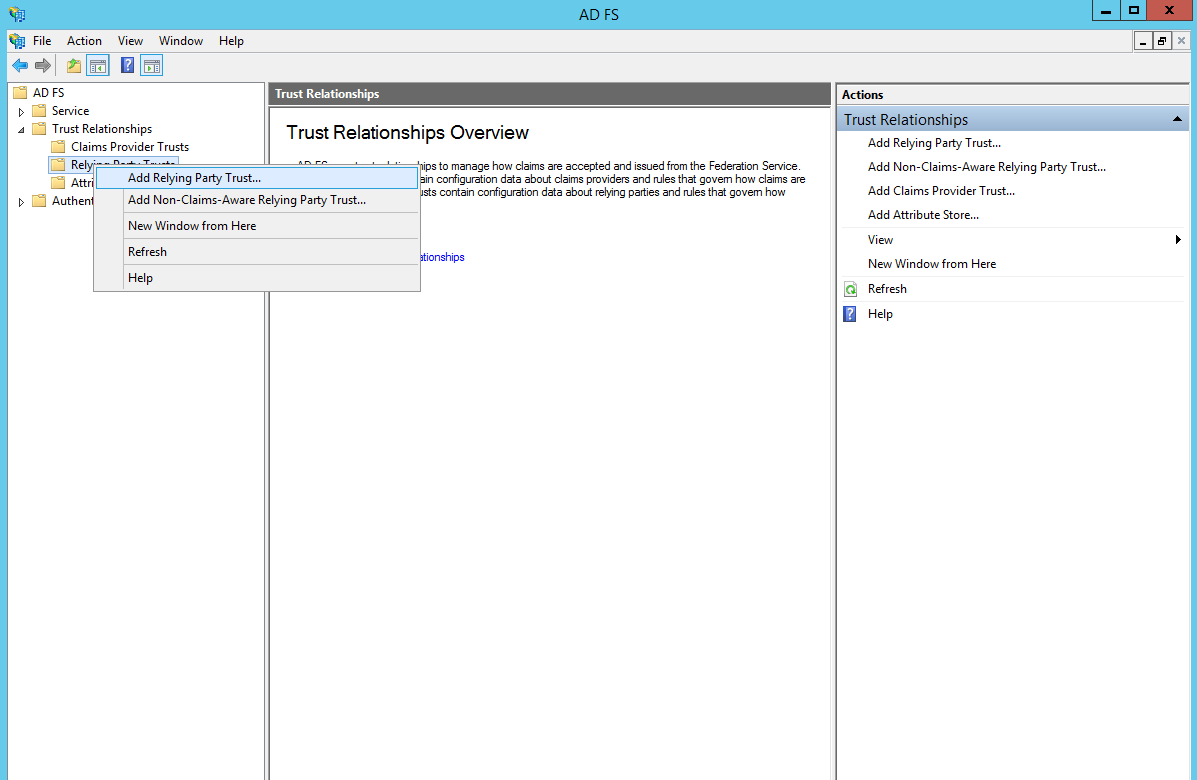
Expand the Trust Relationships folder and then click on Relying Party Trusts.
In the Actions pane on the right, click Add Relying Party Trust and click Start.
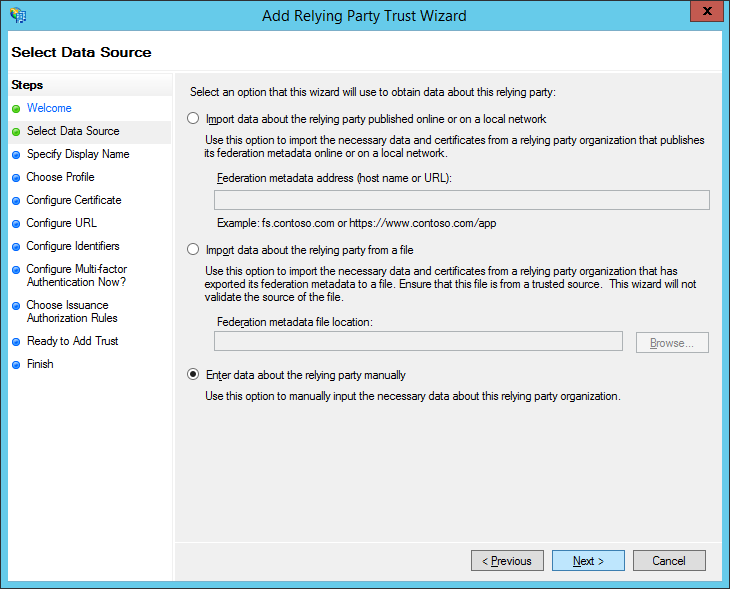
Select the Enter data about the relying party manually and click Next.
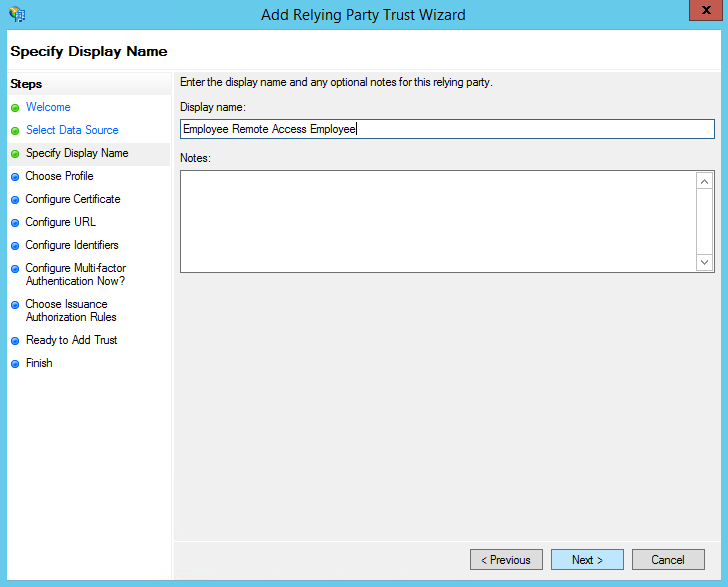
Enter a display name in the Display name box and then click Next. For example, you could enter “Employee Remote Access Employee” or a similar description.
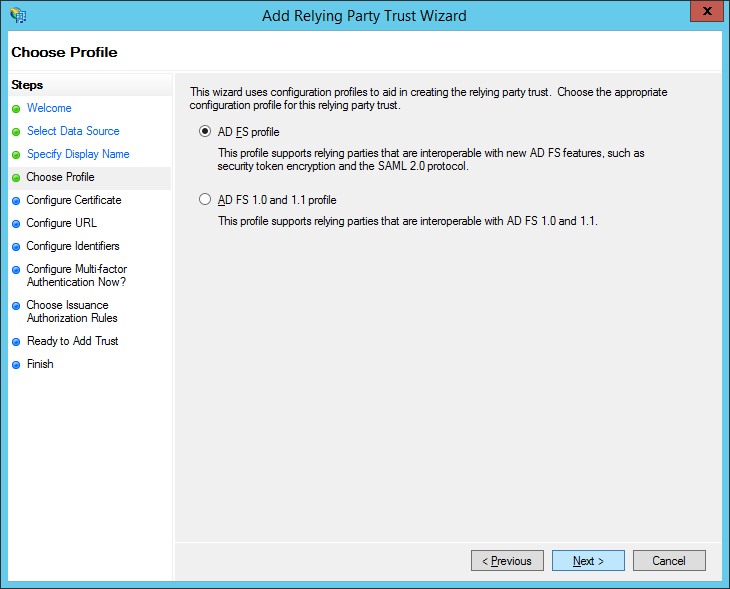
Select the AD FS profile option and click Next.
Click Browse and search for the file location of era_snapschedule365_com.cer, the certificate sent to you by the Snap Schedule 365 support team. Then, click Next.
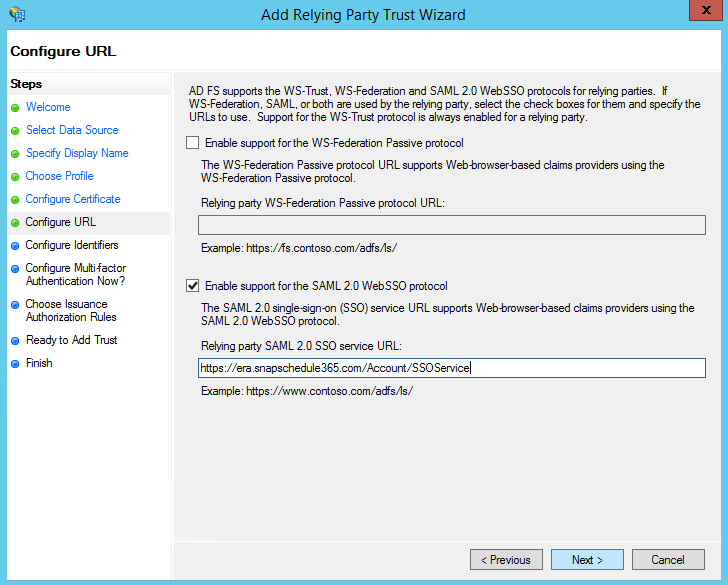
Select the Enable support for the SAML 2.0 WebSSO protocol option and enter:
https://era.snapschedule365.com/Account/SSOService
(case-sensitive) as the Relying party SAML 2.0 SSO service URL. Then, click Next.
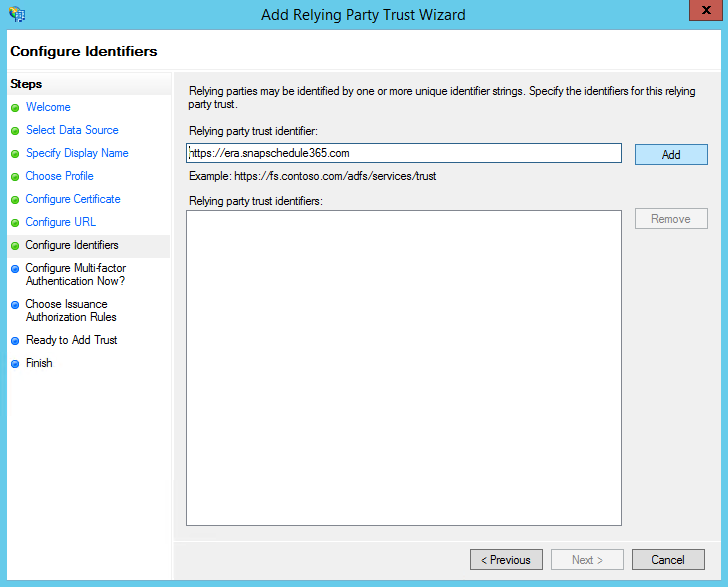
Enter:
https://era.snapschedule365.com
as the Relying party trust identifier and then click Add. Then, click Next.
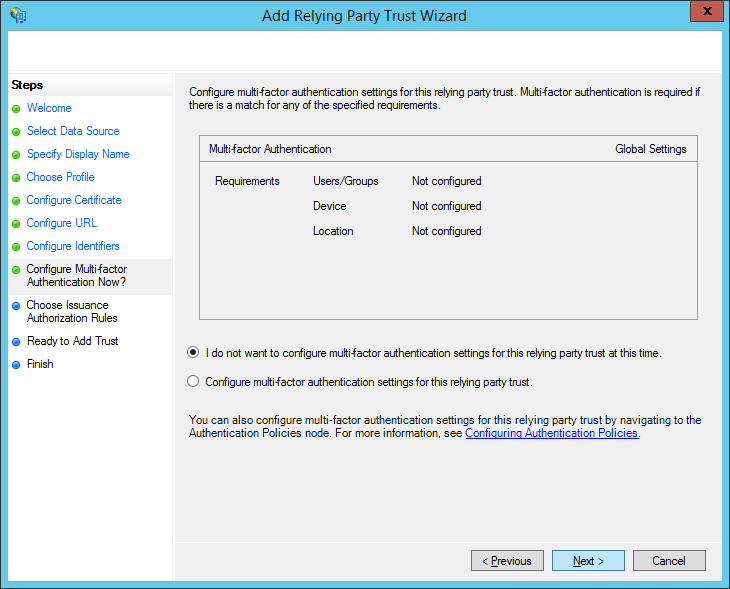
Select the I do not want to configure multi-factor authentication settings for this relying party trust at this time option and click Next.
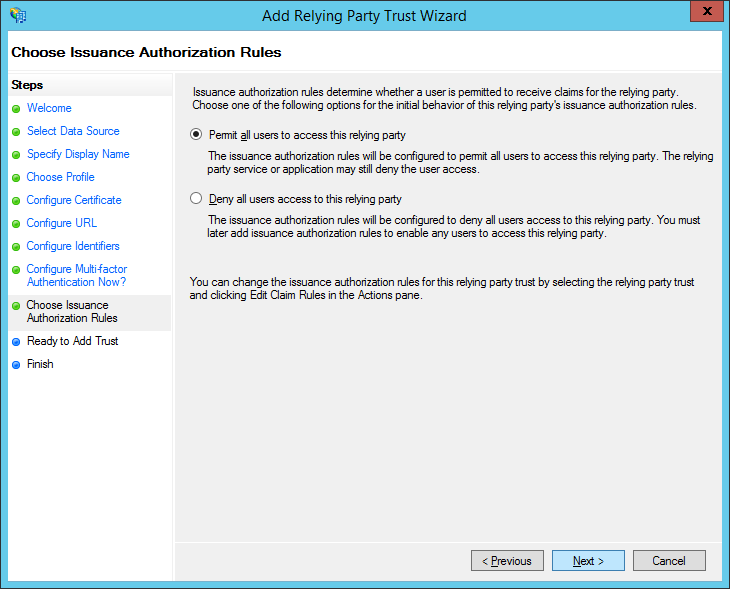
Select the Permit all users to access this relying party option and click Next.
Verify the parameters under each tab and then click Next.
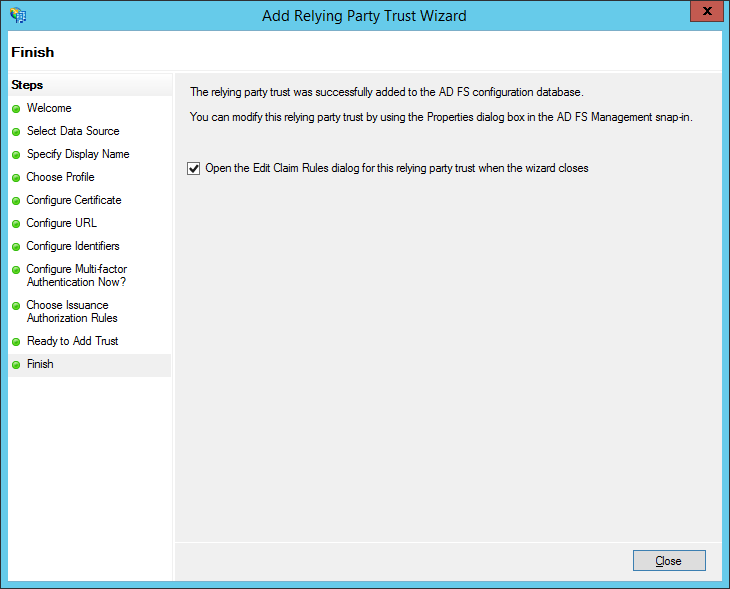
Check the Open the Edit Claim Rules dialog for this relying party trust when the wizard closes option and click Close.
Editing Snap Schedule 365 ERA’s Claim Rules
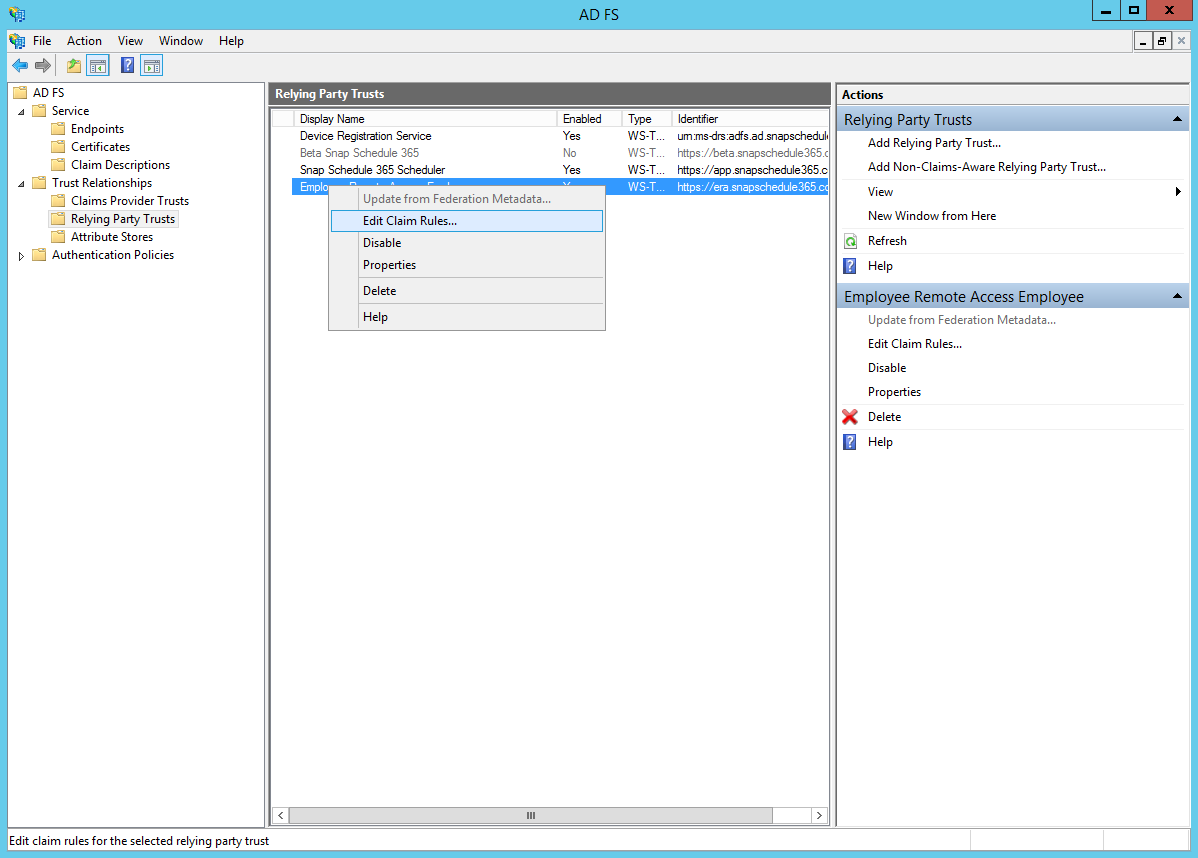
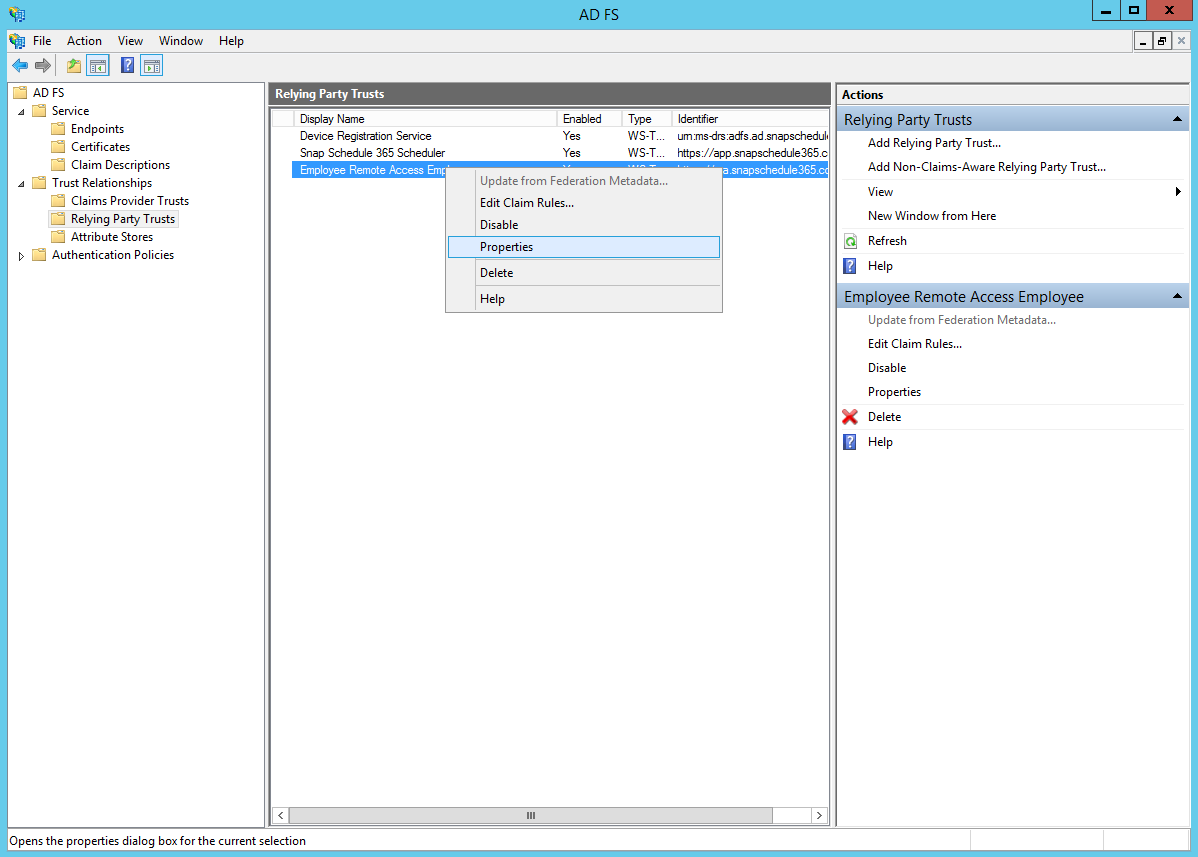
In the Relying Party Trusts list, right-click the relying party that was just added and click Edit Claim Rules…
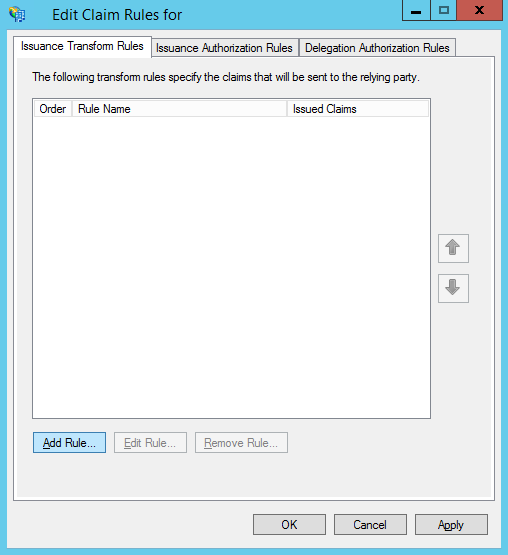
Under the Issuance Transform Rules tab, click Add Rule…
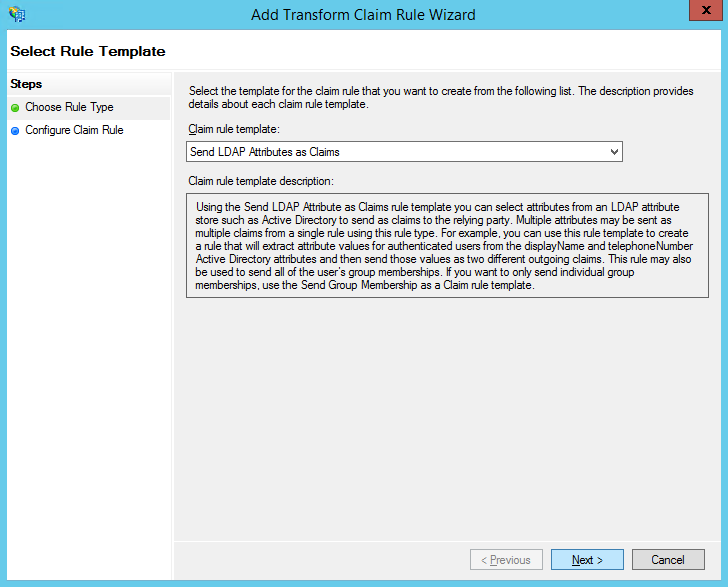
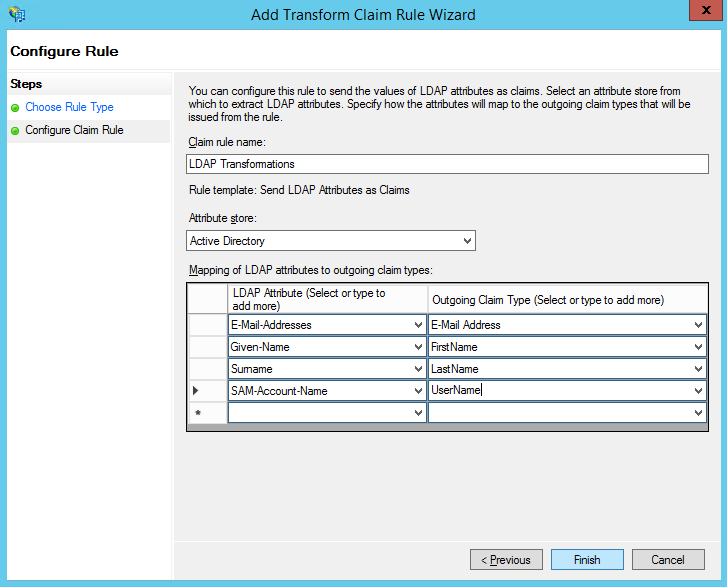
For the Claim rule template, choose Send LDAP Attributes as Claims and click Next.
Enter any claim rule name into the Claim rule name box. For example, you could enter “LDAP Transformations” as this name will not be visible to the users.
For the Attribute Store, select Active Directory.
Enter the following attributes and outgoing claim types:
|
LDAP Attribute |
Outgoing Claim Type |
|
E-Mail-Addresses | EmailAddress |
|
Given-Name | FirstName |
| Surname |
LastName |
| SAM-Account-Name |
UserName |
Snap Schedule 365 Employee Remote Access will use either the UserName or EmailAddress tokens to find the correct employee in your Snap Schedule 365 account. Click Finish and then OK to accept the new claim rule.
Adding the signature verification certificate to the relying party
In the Relying Party Trusts list, right-click the relying party that was just added and click Properties.
Under the Signature tab, click Add.
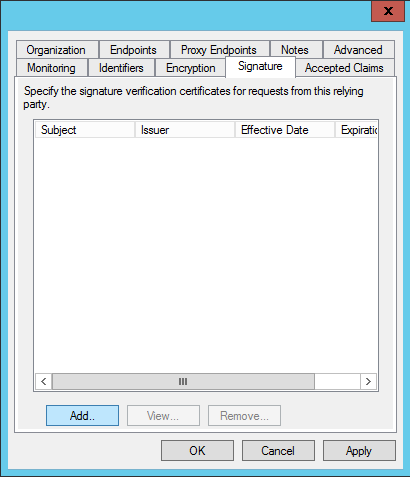
Browse for the era_snapschedule365_com.cer certificate that was sent to you by the Snap Schedule 365 technical support team.
Click Open and then OK to save your changes.
Final Steps
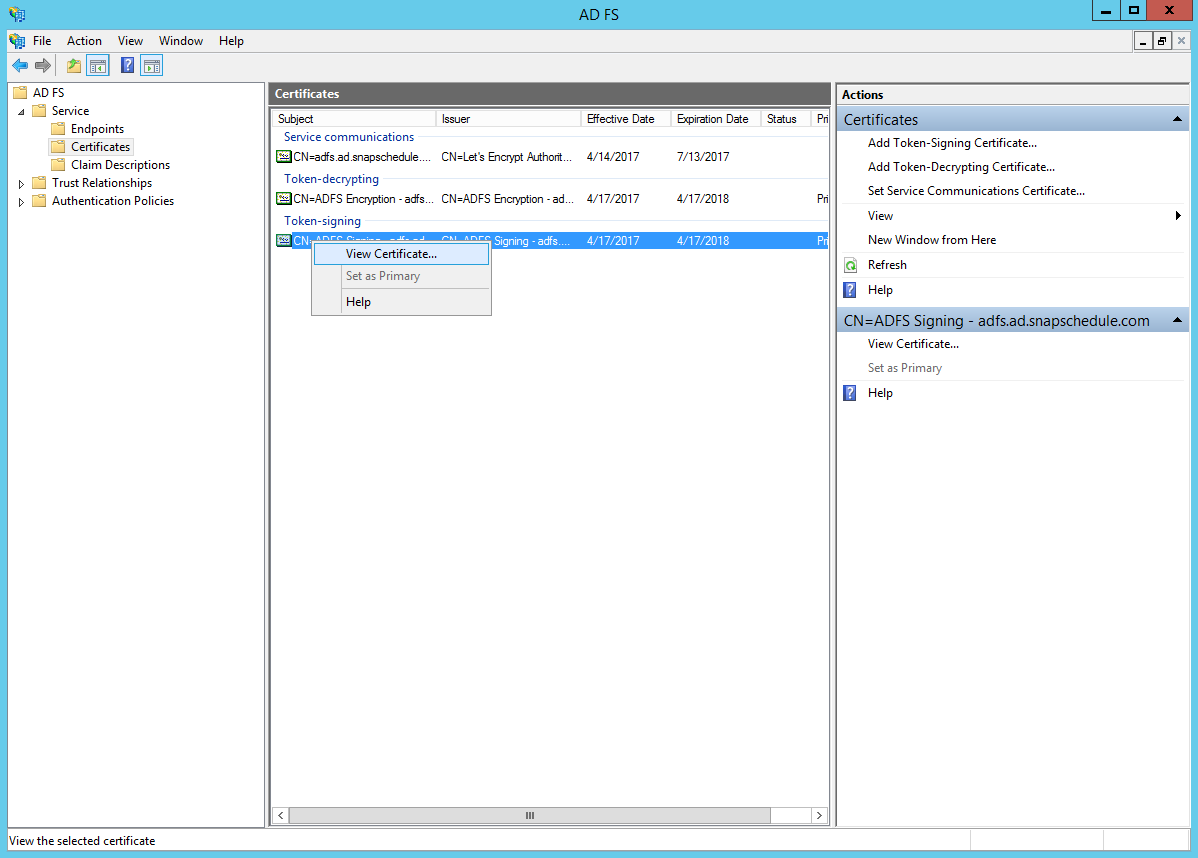
Expand the Service folder and click on Certificates.
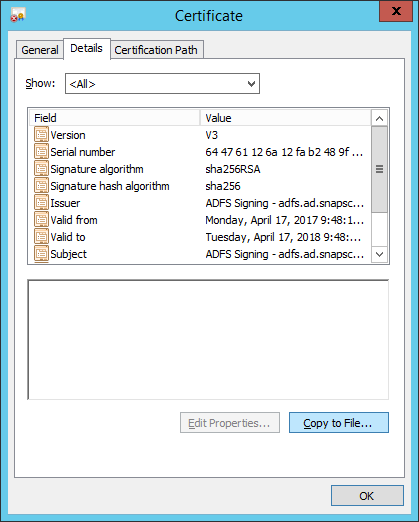
Right-click on the Token-signing certificate and then click View certificate…
In the Details tab, click Copy to File…
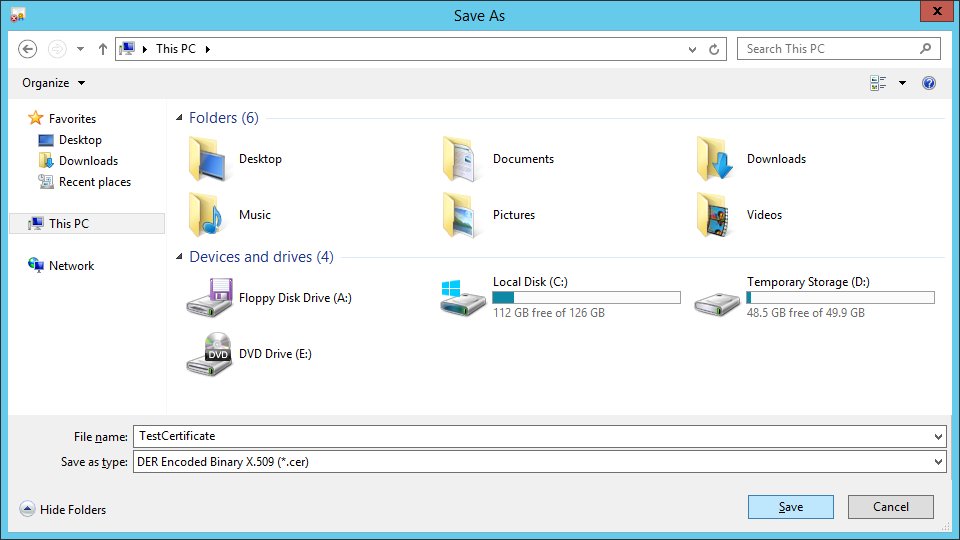
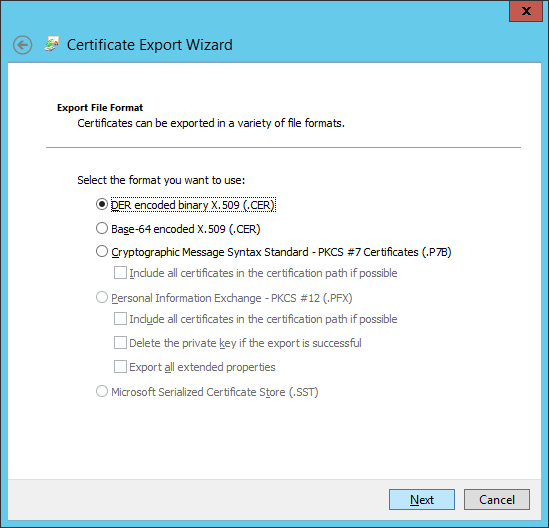
Click Next and select the DER encoded binary X.509 (.CER) option. Then, click Next.
Click Browse to browse for a file location for your certificate.
Enter a file name for the certificate and click Save.
Click Next and then Finish. This will be your token-signing certificate.
IMPORTANT: Send your Federation Service Identity URL, company code and the token-signing certificate to the Snap Schedule technical support team at support@snapschedule.com.
Now what?
Once the Snap Schedule technical support team has configured your Snap Schedule 365 account to use Single Sign On, you can:
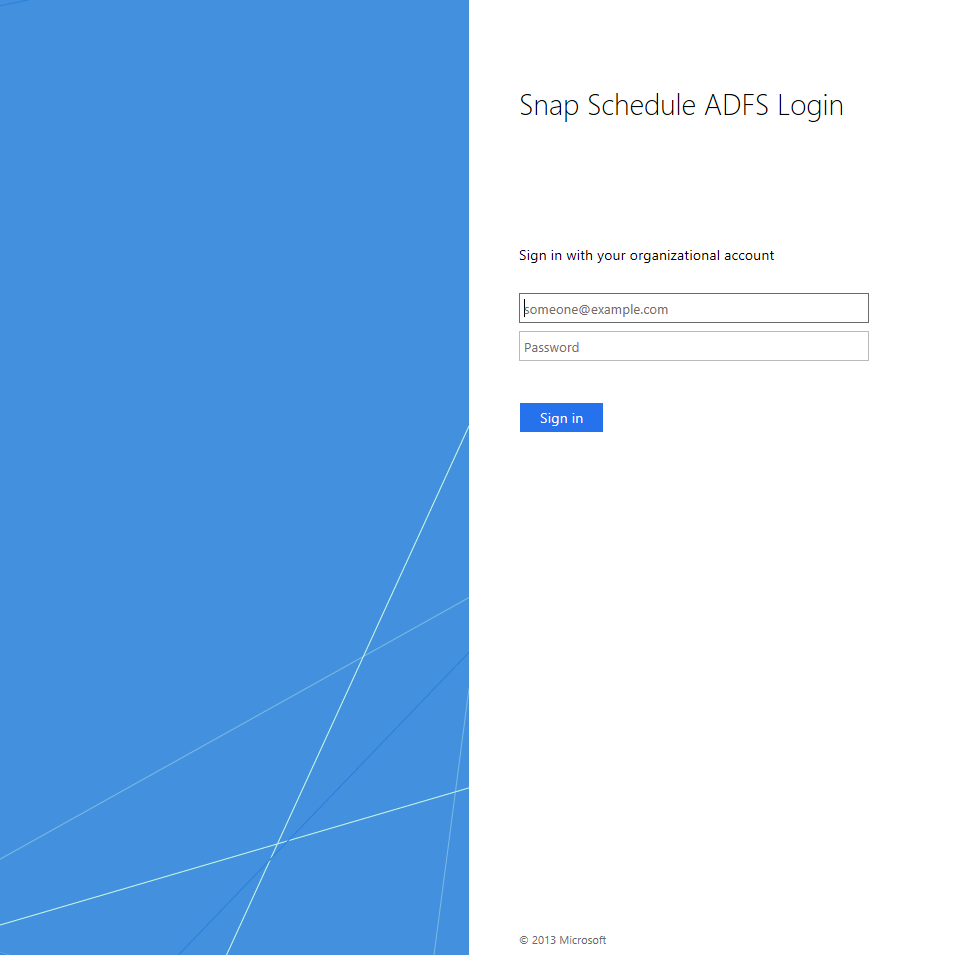
- Navigate to https://era.snapschedule365.com/account/login?companycode=<your_company_code>, where <your_company_code> should be replaced with your company code.
- You will be redirected to your ADFS login portal located at the identity URL you provided earlier. Enter the username and password of a user on your ADFS domain and click Sign In.